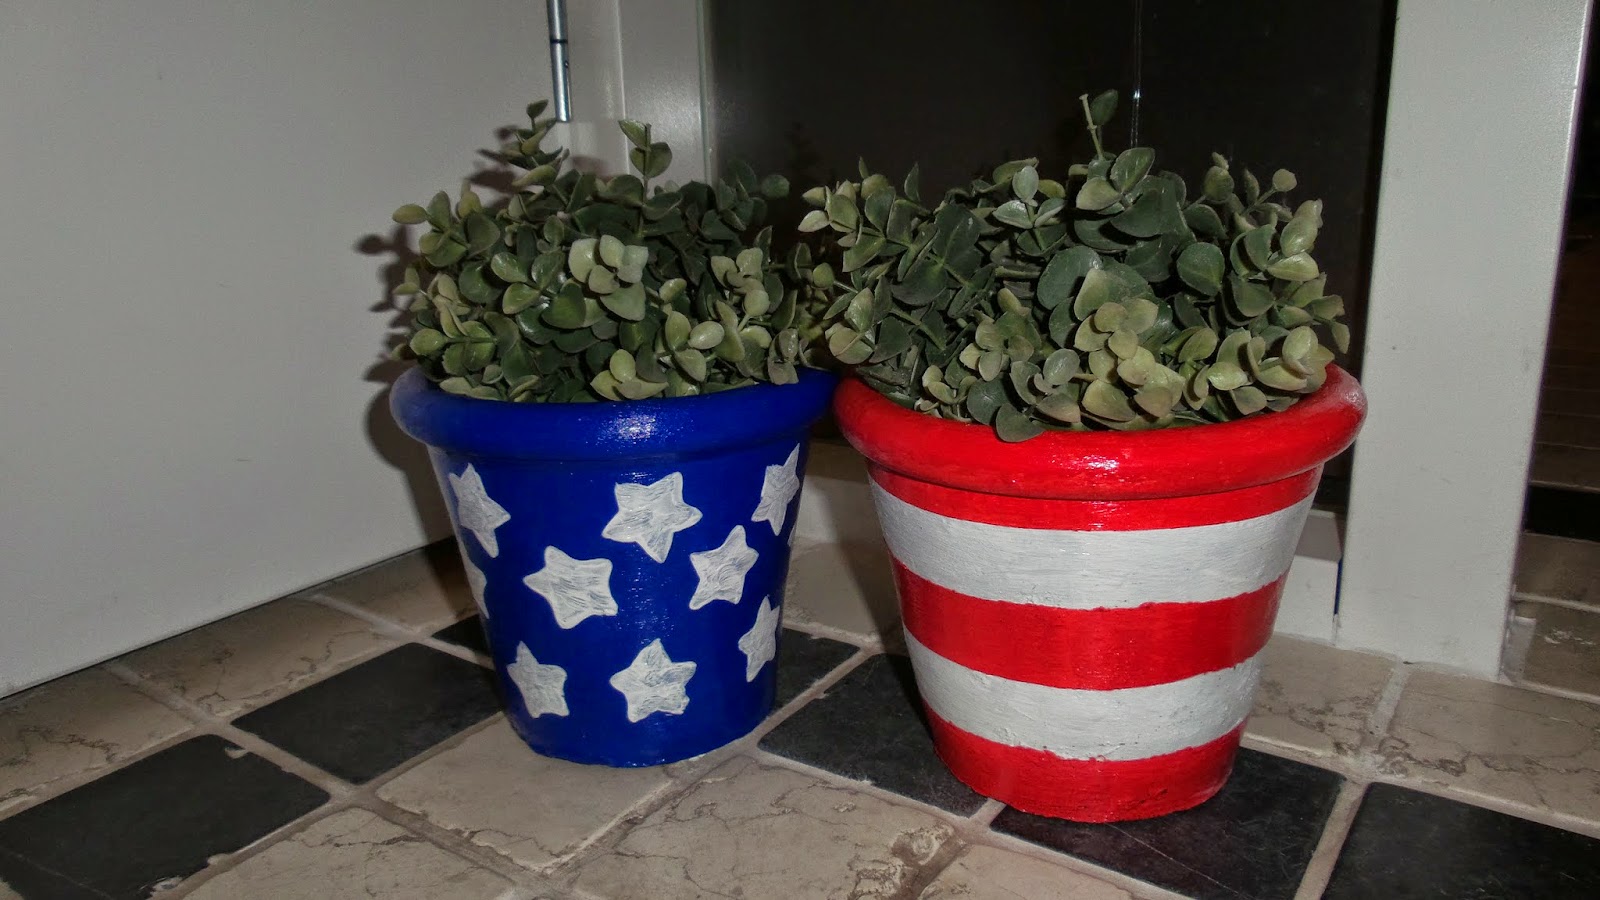
Transform some old or boring pots into real 4th of July eye catchers :-).
I used two grey outdoor pots that I already have for a couple of years.
Things you need to make these patriotic pots are:
- 2 pots...well, that was to be expected ;-)
- gesso
- a cork (or something else to stick your foam sticker on in order to easily dip it in paint and stencil)
- a brush
- something to put some paint in in order to stencil
- painters tape
- painters tape
First I applied a pretty thick layer of gesso with a brush. I treated the outside of the pots with gesso, as well as a bit of the upper part of the inside of the pots.
As soon as the gesso is dry you can start to paint. The pot with the stripes I painted completely white at first, whil I painted the pot with the stars blue. Use as many coats of paints as it takes for you te be satisfied with the result.
Make sure the paint has dried very well before applying the stars and stripes. For the stars I used a star-shaped foam sticker, I sticked it on a cork and dipped it in white paint. Because the post are round (or at least mine were :-) ), you need to move the star over a bit when stenciling. If the stars are not perfect or you used too much paint, you can touch up using a small brush.
For the striped pot I used painters tape to make sure the pot stayed white where I wanted it to. I applied two 'stripes' of tape and stared painting the rest of the pot red.
Once you're done painting let it dry a bit (although I would advise not too much) before tearing of the painters tape.
To make sure the pots can be used outdoors again you need to apply some mod podge for outdoor use. I applied quite a thick coat.
Now your pots are ready to use.
I hope you enjoyed this tutorial.
Edith


